Build Your Dream Pallet Shed: A Step-by-Step Guide
Tired of clutter piling up in your garage or overflowing from your existing storage solutions? Yearning for a dedicated space to house your gardening tools, outdoor furniture, or seasonal decorations? Then building a DIY pallet shed is the perfect weekend project! This guide provides a detailed, step-by-step approach, empowering you to create a functional and aesthetically pleasing outdoor storage solution, all while embracing the eco-friendly charm of repurposed pallets.
Planning Your Pallet Shed Project
Before you even touch a hammer, careful planning is key to a successful build. This phase involves determining the size and location of your shed, sourcing your materials, and sketching out a basic design. Consider the dimensions based on your storage needsâ€"a smaller shed is ideal for tools, while a larger one can accommodate furniture or even a small workshop. Choose a level, well-drained location for your shed, ensuring it's accessible and won't interfere with other aspects of your property. Next, start gathering your pallets. Inspect them carefully; choose sturdy ones with minimal damage. You'll also need additional materials like screws, nails, wood preservative, roofing material, and any desired finishing touches.
Essential Materials List
Compile this list before you begin to avoid interruptions during construction.
- 6-8 sturdy pallets: The number depends on your desired shed size.
- Screws and nails: Choose exterior-grade options for durability.
- Wood preservative: Protect your pallets from rot and insects.
- Roofing material: Consider corrugated metal, shingles, or even recycled plastic sheets.
- Leveling blocks or concrete pier blocks: Ensure a stable base.
- Measuring tape, saw, hammer, drill, and screwdriver: Essential tools for construction.
Building the Shed Frame
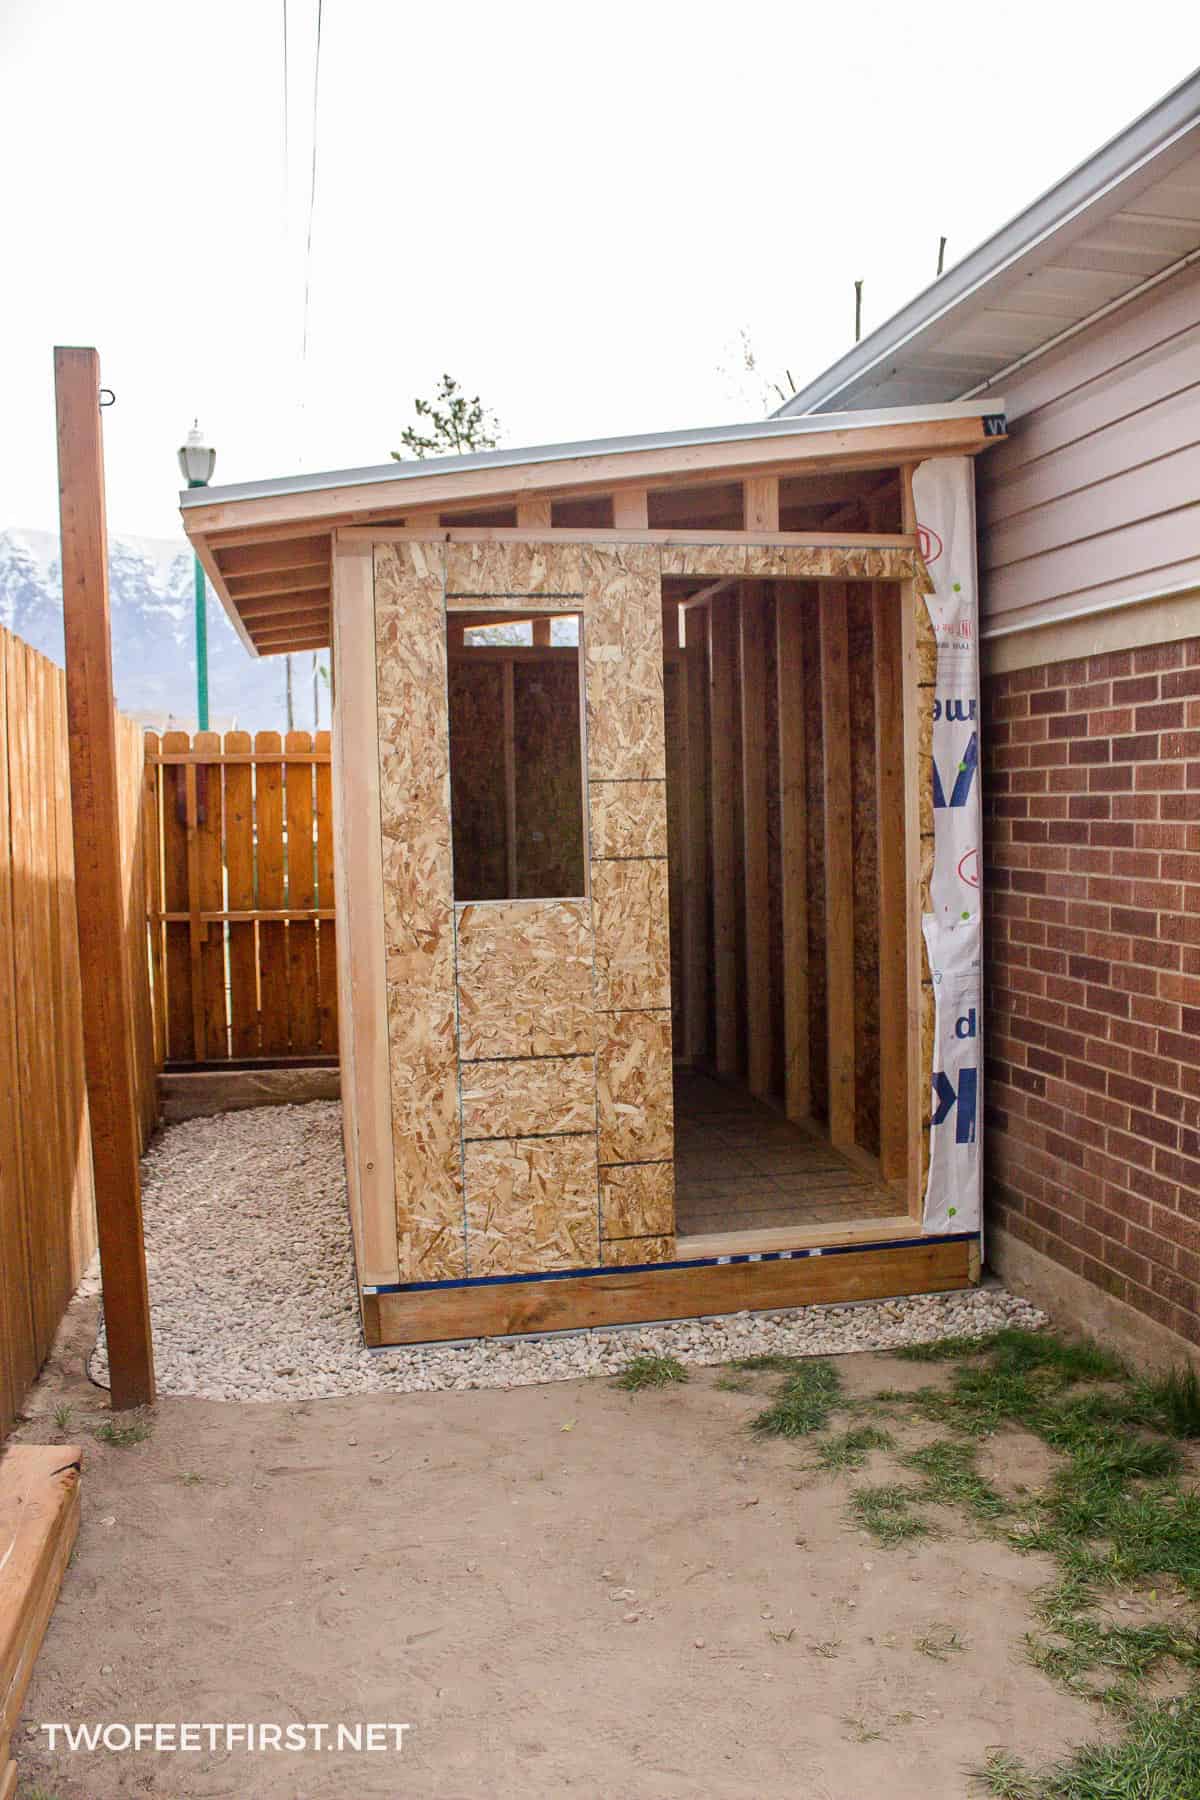
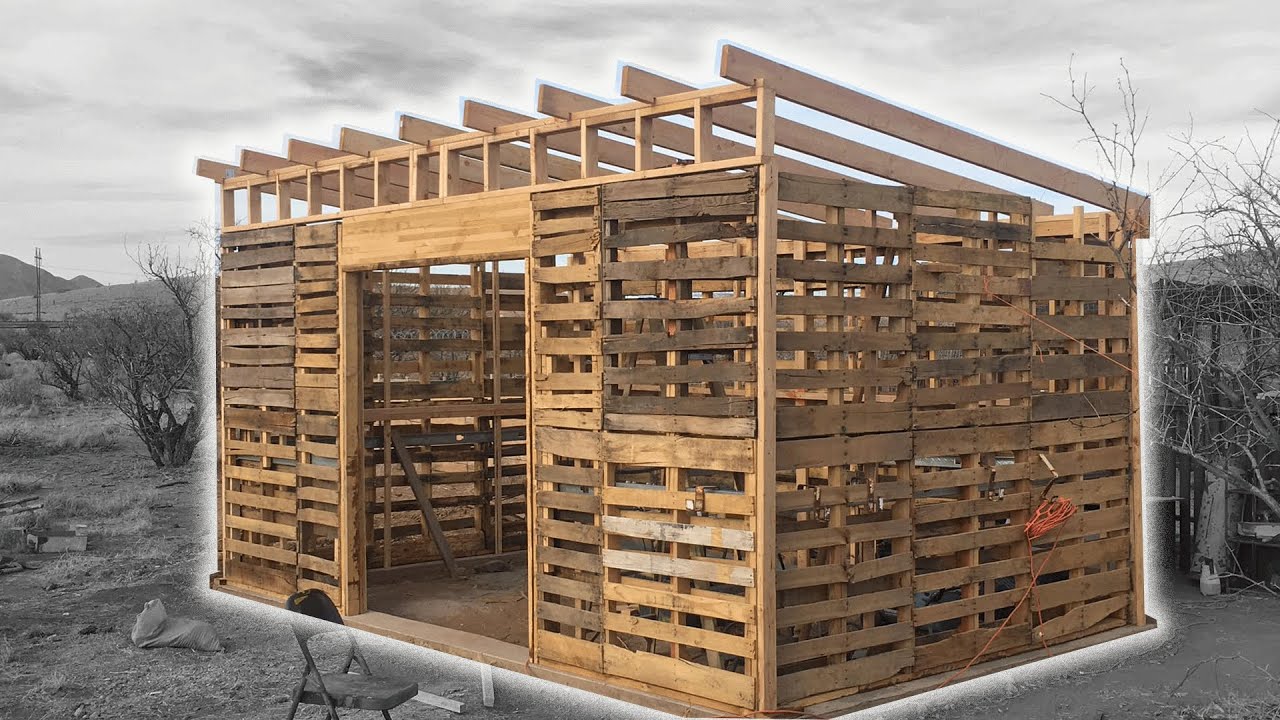
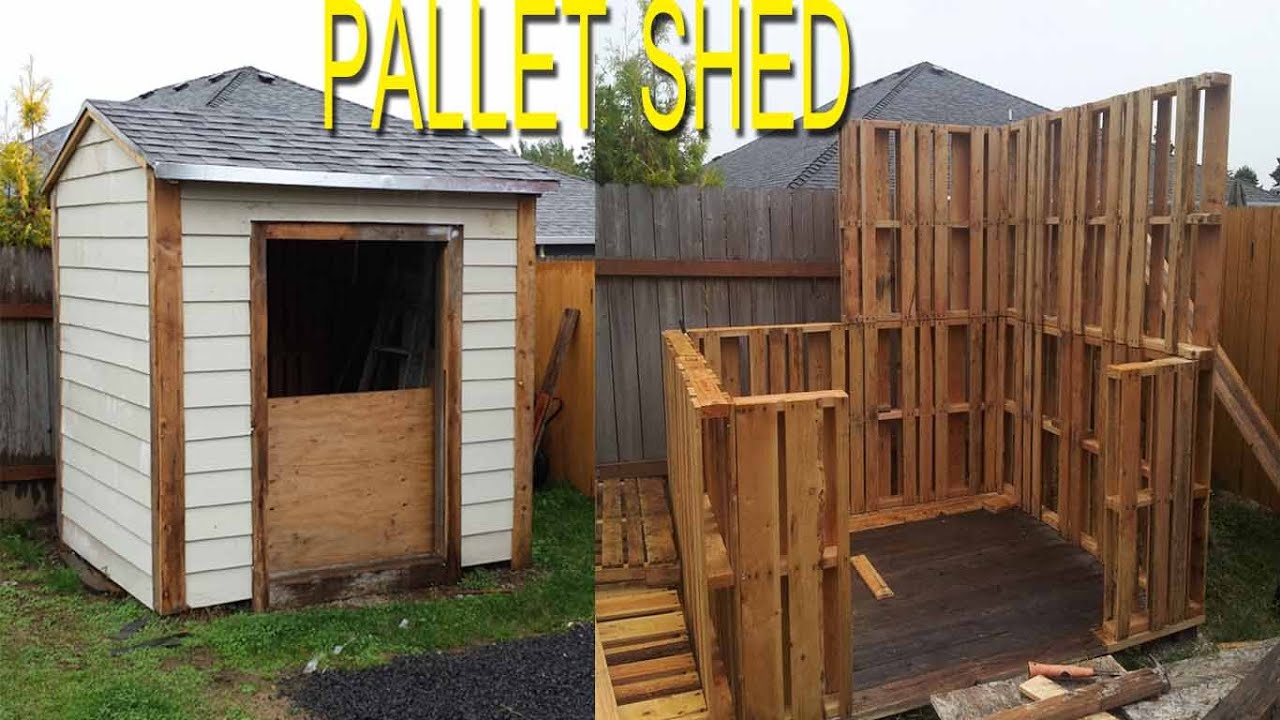
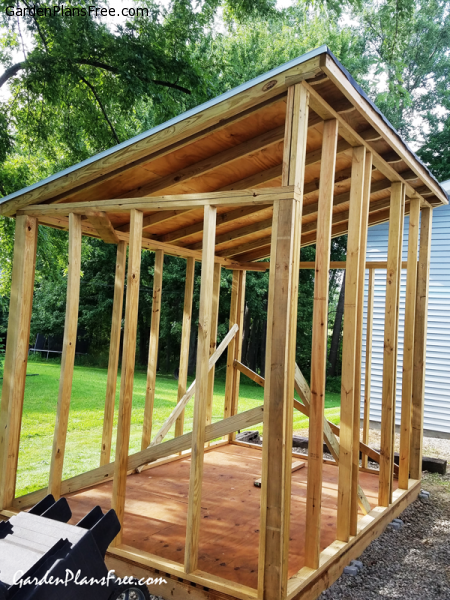
Once your materials are gathered, you can start constructing the shed frame. Begin by creating a level base using leveling blocks or concrete pier blocks. This ensures the shed remains stable and prevents settling over time. Next, carefully disassemble the pallets, separating usable planks and discarding damaged pieces. This allows you to construct a stronger and more customized frame compared to directly using entire pallets. Arrange the selected planks to build a rectangular frame for the walls and the floor. Secure the planks using screws, paying close attention to alignment and stability. Remember to build the walls section by section, ensuring they are square and level before moving to the next.
Roofing and Finishing Touches
After erecting the walls and attaching the floor, it’s time to focus on the roof. Choose your roofing material and construct a simple gable or shed roof design, ensuring proper overlap and weatherproofing. Secure the roofing material using appropriate fasteners. Once the roof is complete, apply a wood preservative to all the exposed wooden surfaces to protect against the elements and extend the life of your shed. Finally, consider adding a door (which can be created from additional pallet planks) and any other desired features, such as windows or shelves. A final coat of paint or stain can add a personal touch and enhance the overall aesthetic appeal.
Adding Personal Touches
Don’t underestimate the power of personalization! Add a custom door, paint it a vibrant color, add charming window boxes, or install a small shelf for potted plants. Consider incorporating solar lights for added functionality and ambiance. Let your creativity shine and make your pallet shed uniquely yours. This final step is where you can truly transform a simple structure into a beautiful and functional outdoor space, reflecting your personal style and needs.
Building a DIY pallet shed is a rewarding experience, blending practicality with sustainability. By following these steps, you can create a valuable addition to your property, providing ample outdoor storage while showcasing your creativity and resourcefulness.